
Migrating my blog
When I migrated my blog to GitHub Pages, one of the features I wanted to bring was the ability for readers to give feedback. This site is all about collaboration and learning, but I did not have a great way to interact with anyone at the time.
utteranc.es
Enter utteranc.es. This is an open source project by Jeremy Danyow who created the project as a POC for Microsoft’s integration of GitHub Issues into their documentation. If you appreciate being able to comment there (or here), give thanks to the author!
As Jeremy says, there are a ton of “free” comment platforms that are available. Free as in “you are the product”. Facebook, Disqus, and more all offer convenient feedback integration while also tracking everything that anyone does on your site. They are also very bloated pieces of code that will slow down load times of your site. Utteranc.es solves these problems with a custom system that use GitHub issues as a way to store comment data without bloat or privacy issues.
Setting up comments on your blog
Setting this up on your GitHub Pages-powered blog is fast and easy.
- First, head to the utteranc.es app on GitHub to integrate and enable it.

- Next, you will choose the repository you wish to enable app integration for. Since I am only using this for comments on my GitHub Pages blog, I only selected my
zweilosec.github.iorepository.
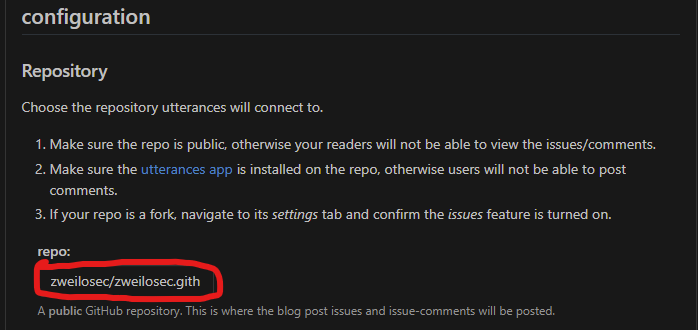
- After choosing the repository and saving your selection, head to https://utteranc.es. Scroll down a little ways to the configuration section and under “Repository” type your
github-username/repo-to-connectinformation in therepo:box.
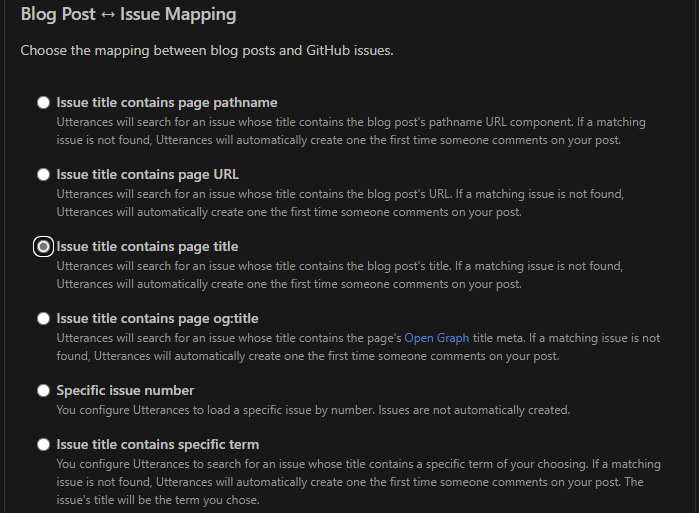
- Next, select the radio button next to the issue style that matches your preference. This will configure
utteranc.esto post comments to an issue based on certain criteria. I chose for the app to create an issue with the title of the blog post so I could easily identify which post the comments belonged to. There are a number of options to pick from, so choose the one that best fits your organizational style.
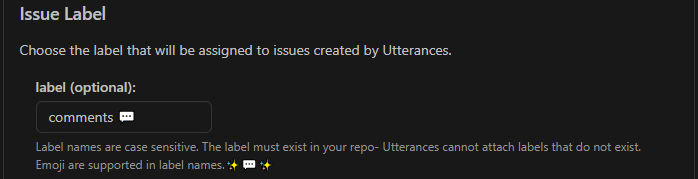
- [Optional] You can optionally choose a label to be applied to all issues that are created by this app. I chose to label mine
comments 💬. Notice that you can add emoji to yours for more flair, or to make them stand out as comments.
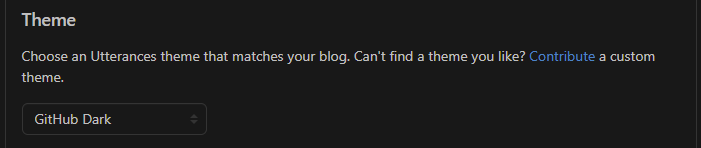
- Next you can choose a visual theme you want to use for the appearance of the widget on your website. I chose
GitHub Darkto match the theme of my site.
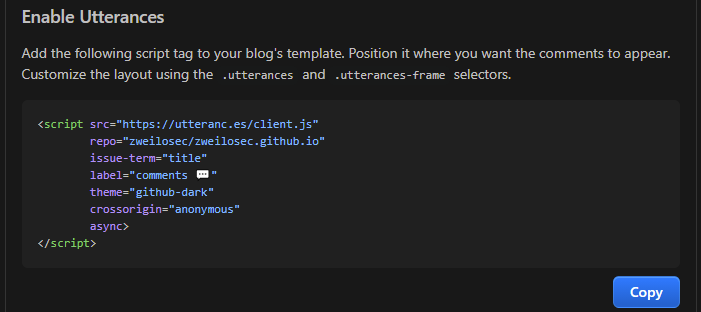
- Finally, click the copy button to copy the pre-made code that contains the configuration choices you made. You will need to copy this code to the footer of your website’s HTML template (or wherever you want it displayed!). In my case the theme I use has a file called
post.htmlin the_layoutsfolder. I simply copied the code to the last section in that file and magically all posts on my site now have GitHub Issue-powered comments!
If you have comments, issues, or other feedback, or have any other fun or useful tips or tricks to share, feel free to contact me on Github at https://github.com/zweilosec or in the comments below!
If you like this content and would like to see more, please consider buying me a coffee! 